Cleaning your air fryer doesn’t have to be a chore, especially when you gather the right cleaning supplies first. Having everything ready at your fingertips makes the job quick and easy. Here’s what you’ll need:
Once you have your supplies ready, the cleaning process becomes a breeze. It’s all about being prepared so you can enjoy your air-fried goodies without the hassle of cooking mess hanging over your head!
Disassemble Your Air Fryer Parts
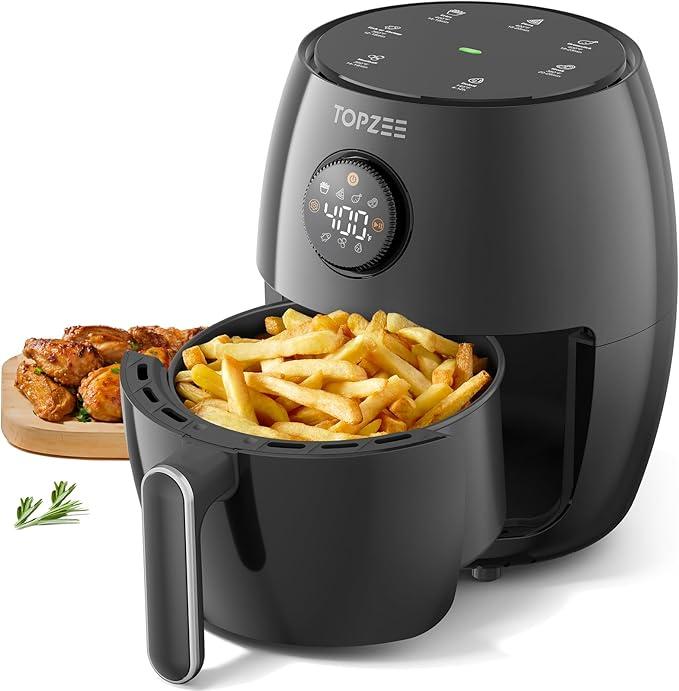
Cleaning your air fryer is super important to keep it running smoothly and to ensure your meals taste great every time. The first step? Disassembling your air fryer. Don't worry; it’s simple! Just follow these easy steps.
Start by unplugging your air fryer. Safety first! Once that's done, remove the basket and the pan. Most air fryers have a simple mechanism where you can just pull the basket out, but check your model's manual if you're unsure.
Next, take a look at any other removable parts. Many air fryers have components like trays or racks that can be taken out. These pieces are usually easy to pop out, so go ahead and get them off too. This will make cleaning much easier and more thorough.
After you’ve got everything apart, you’ll be ready to start cleaning! It’s a good idea to give these parts a quick rinse before diving into the deep clean. This helps remove any loose food particles and grease before you scrub them down. Trust me, your air fryer will thank you later!
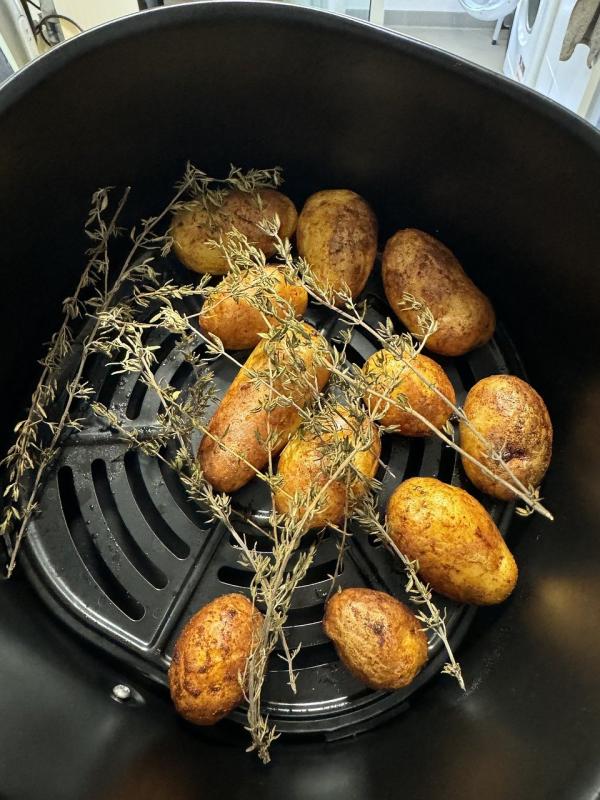
Clean the Basket and Tray
Cleaning the basket and tray of your air fryer is super easy and can make a big difference in how your meals taste. After each use, it's a good idea to give them a quick clean to keep everything fresh and in tip-top shape. Here’s how to do it:
Regularly cleaning the basket and tray not only keeps your air fryer looking good but also helps it perform better. Plus, it prevents flavors from mixing, so your next meal stays just as delicious as you planned!
Wipe Down the Exterior
Cleaning the exterior of your air fryer is a simple yet important step to keep it looking great and functioning well. All you need is a damp cloth, some mild dish soap, and a bit of elbow grease. First, unplug your air fryer and let it cool down completely—safety first!
Once it’s cool, grab your damp cloth and wipe down the outer surface. Make sure to pay special attention to areas that may have splatters or grease marks from cooking. If you find any stubborn spots, mix a little dish soap with warm water and use that to tackle the mess.
For those hard-to-reach nooks and crannies, a soft-bristle toothbrush can be a lifesaver. It helps get into tight spots where grime likes to hide. Just make sure to be gentle to avoid scratching the surface.
After you’ve wiped everything down, use a clean, dry cloth to give it a final polish. This not only removes any leftover moisture but also makes your air fryer shine like new. Keeping the exterior clean not only looks good but also helps maintain the appliance’s lifespan!